A heron lifting off a reedbed is one of the great free spectacles of the British countryside, and it asks nothing of you but attention. No licence, no expensive kit, no rare talent. A usable pair of binoculars, a guide you understand, and the willingness to stand still for longer than feels natural will get you a long way.
Wetlands suit beginners. Birds on water or mud are usually in the open, often in numbers, and frequently close to a hide. That same openness makes them wary: a careless approach lifts everything in a clatter and leaves you staring at empty water. What follows is what to carry, how to work out what you are looking at, and how to move through a marsh without emptying it.
Binoculars: choose sensible, learn thoroughly
Two numbers matter most. The first is magnification, the second is the diameter of the front lens in millimetres. For wetland birdwatching, 8x42 is the standard recommendation and a good place to start: enough reach for a distant spit of mud, a wide enough view to find a moving bird, and light enough to hold steady for an hour. The 10x42 alternative gives more magnification but a narrower view and a shakier image in cold hands. Anything above 10x is a tripod job.
Look for these practical details:
- Waterproof and fog-proof — you will be out in drizzle and spray, and a marsh in February does not forgive.
- Close focus of about two metres — in a hide, the nearest bird is often a moorhen almost under the window.
- Enough eye relief for glasses — if you wear them, try before buying. Most decent models now work, but not all.
- A comfortable strap or harness — a harness spreads the weight and keeps the optics off your neck on a long walk.
- Rubber armouring and a smooth focus wheel — you will be turning it constantly, often with gloves on.
Do not buy blind from a photograph. Get to a reserve shop, an optics day or a dealer who will let you take a pair outside. Mid-range binoculars from a known optics brand will serve you for years; a second-hand pair in good condition is a perfectly respectable way in. If you can, compare two pairs side by side at dusk, when light-gathering shows its worth.
Getting your eyes behind them
The classic beginner's mistake is scanning with the binoculars. Instead, find your bird with the naked eye, keep your gaze fixed on it, then raise the binoculars to your face without moving your head. Adjust the hinge so you see a single circle, not two, and set the dioptre ring once for the difference between your eyes. Practise on a fence post or a distant lamp post until raising them becomes automatic. Tuck your elbows in, rest your thumbs against your cheekbones, and breathe out slowly before you look.
Field guides and notebooks
A single good field guide is enough. Illustrated guides tend to show posture and shape more clearly, which matters in a reedbed where you may only see a silhouette and a bill. Photographic guides are easier for plumage detail. Either way, learn how the book is arranged before you go out — most are grouped by family, so ducks sit together, waders together, warblers together.
Identification apps are useful as prompts rather than verdicts. A suggested name from a photograph or a recorded song is a starting point; check it against the book, and against the habitat and season. Keep a small notebook too. Date, time, weather, water level, species and a rough count will tell you more across a year than any single visit can, and the act of writing fixes a bird in your memory. Write down the ones you are certain about and leave the rest as a question mark.
Learning to identify wetland birds
Beginners fixate on colour. Experienced birdwatchers look at four things first, in this order:
- Size and shape — compare every bird to something you already know. Is it bigger than a mallard? Longer-legged than a crow?
- Bill — long and straight, short and stubby, hooked, upturned. A curlew and a redshank read differently at distance purely because of the bill.
- Behaviour — dabbling head-down in the shallows, diving, wading and probing, hovering, or flycatching from a reed stem.
- Plumage — last, because light on water shifts constantly and many species change dramatically between seasons.
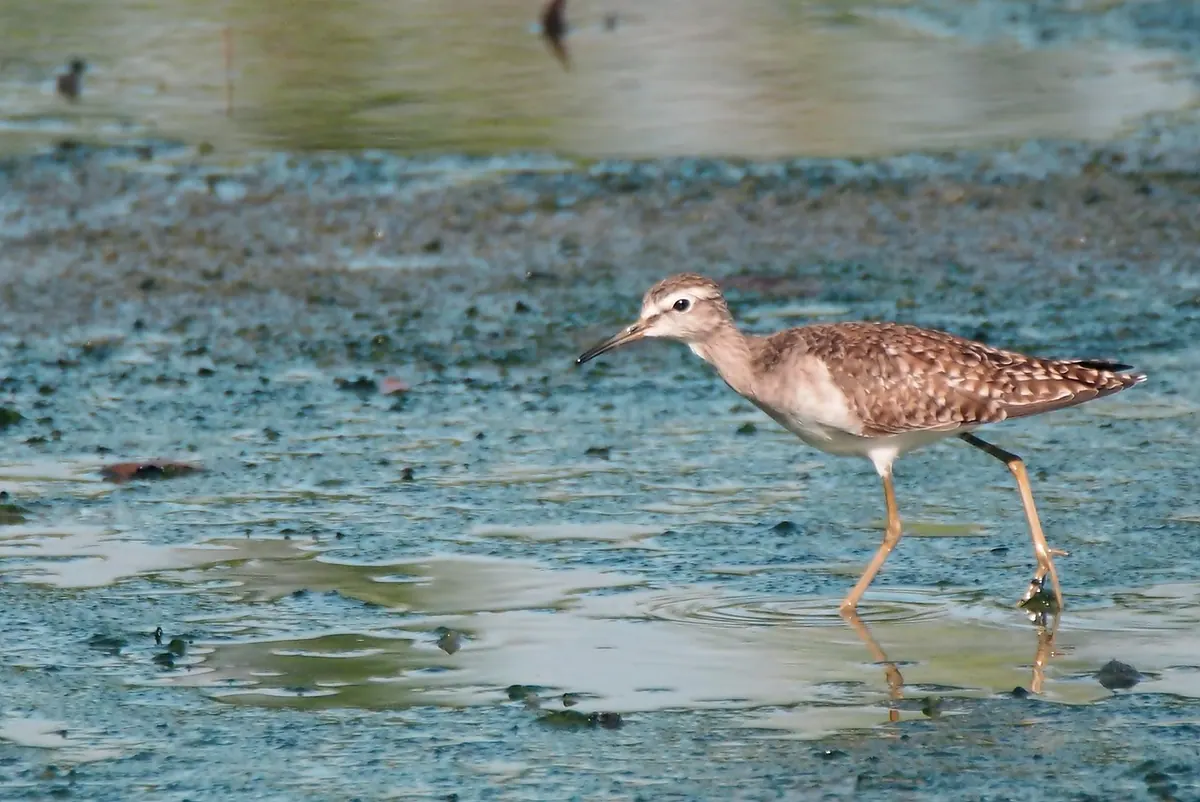
Habitat and season narrow the options dramatically. A small brown bird singing from deep in the reeds is most likely a reed warbler; one singing from the scrubby edge is more likely a sedge warbler. A grey heron is unmistakably large; a little egret is smaller, with a black bill and yellow feet, while a great white egret is nearly heron-sized with a yellow bill. Grasping those basics takes you past most everyday confusion.
A shortlist worth learning properly, because you will see them repeatedly: mallard, mute swan, Canada goose, greylag goose, moorhen, coot, tufted duck, shelduck, teal, wigeon, shoveler, grey heron, little egret, cormorant, lapwing, redshank, oystercatcher, black-headed gull, reed bunting and marsh harrier. Twenty confident identifications beat a hundred uncertain ones.
Fieldcraft: watching without disturbing
Good fieldcraft is mostly restraint. Wetland birds are used to being watched from hides and along paths, but they react to anything unexpected: a skyline figure, a bright jacket, a sudden movement, a dog entering the water margin.
- Stay on paths and in hides, and use gates rather than climbing banks or pushing through reeds.
- Move slowly and pause often. Walking in short bursts with stops reads as less threatening than a steady approach.
- Keep low and use cover — a hedge, a screen, a bank of reeds. Do not stand on the skyline.
- Keep voices down. Sound carries further across water than most people expect.
- Never use recorded calls to pull a bird closer, and never around nesting or roosting birds. Playback costs birds energy they cannot spare.
- Keep dogs on a lead and away from the water's edge, where nests and chicks are hidden in vegetation.
- Do not feed bread or kitchen scraps to wildfowl. It fouls the water and does the birds no good.
- Back off if a bird alarm-calls, stands tall to stare at you, or repeatedly flies up. You are too close.
Winter roosts deserve particular care. Birds arriving at dusk to roost on open water or islands have often flown a long way, and flushing them means they burn fat reserves in cold weather. Watch from a distance, or from a hide, and let them settle. Wild birds and their nests are protected by law in the UK, and for a handful of sensitive species disturbance at the nest can be a criminal offence. If you are unsure, ask reserve staff before you set up.
Dress for the damp: waterproof jacket in muted colours, wellington boots, hat, gloves you can work a focus wheel in, and a flask. Insect repellent earns its place in summer.
A first morning, step by step
Arrive early, when the light is low and the birds are feeding. Check the sightings board at the visitor centre, then pick one hide and settle in. Sit still for twenty minutes before you even raise your binoculars; much of the water's life will return once you stop being an event. Keep the sun behind you where you can. Take one species at a time, describe it to yourself in words, then check the guide. Note what you saw and where, and tell the staff what is around — wetland records are built from exactly that kind of ordinary observation.
Then go home. Come back next week, and the following month. Identification is not really taught; it accumulates through hours spent quietly in one place, season after season, until the birds start to look like themselves.
Photo: Vinding / Pixabay